
Урок 15. Bluetooth модуль HC-06 подключение к Arduino. Управление устройствами с телефона.
Очень часто в ваших проектах возникает необходимость в дистанционном управлении или передачи данных с ваших телефонных гаджетов.
Один из самых популярных и распространенных методов обмена данными посредством Bluetooth.
Сегодня мы разберем простые примеры как можно подключить Bluetooth модуль к Arduino и настроить дистанционное управление с телефона.
Нам понадобится:
Схема подключения Bluetooth к Arduino:
Подключать Bluetooth модуль к микроконтроллеру Arduino удобнее всего с помощью проводков ПАПА-МАМА.
| Arduino | Bluetooth |
|---|---|
| Pin 1 (TX) | RXD |
| Pin 0 (RX) | TXD |
| GND | GND |
| 5V | VCC |
Будьте внимательны, подключать подключать нужно TX -> RXD ,RX -> TXD.
Теперь необходимо записать пробный код программы:
Во время загрузки скетча необходимо что бы Bluetooth модуль был отключен от микроконтроллера arduino. В противном случае скетч не запишется, потому что связь с Bluetooth модулем происходит по одному и томуже порту RX и TX, что и USB.
Скачать скетч можно по ссылке.
После того как скетч записан и Bluetooth модуль подключен к Arduino, можно перейти к следующему шагу.
Подключение Bluetooth к телефону
Желательно в качестве источника питания для arduino использовать не USB, а внешний Блок питания на 9 В.
- Включаем Bluetooth на телефоне и ищем новые устройства
- Находим в списке расстройств «HC-06″ и подключаемся к нему.
- Телефон спросит пин-код. необходимо ввести «1234» или «0000«
- Ура. Устройство подключено.
Теперь нужно скачать bluetooth terminal на ваш телефон. Мы рассмотрим на примере платформы Android.
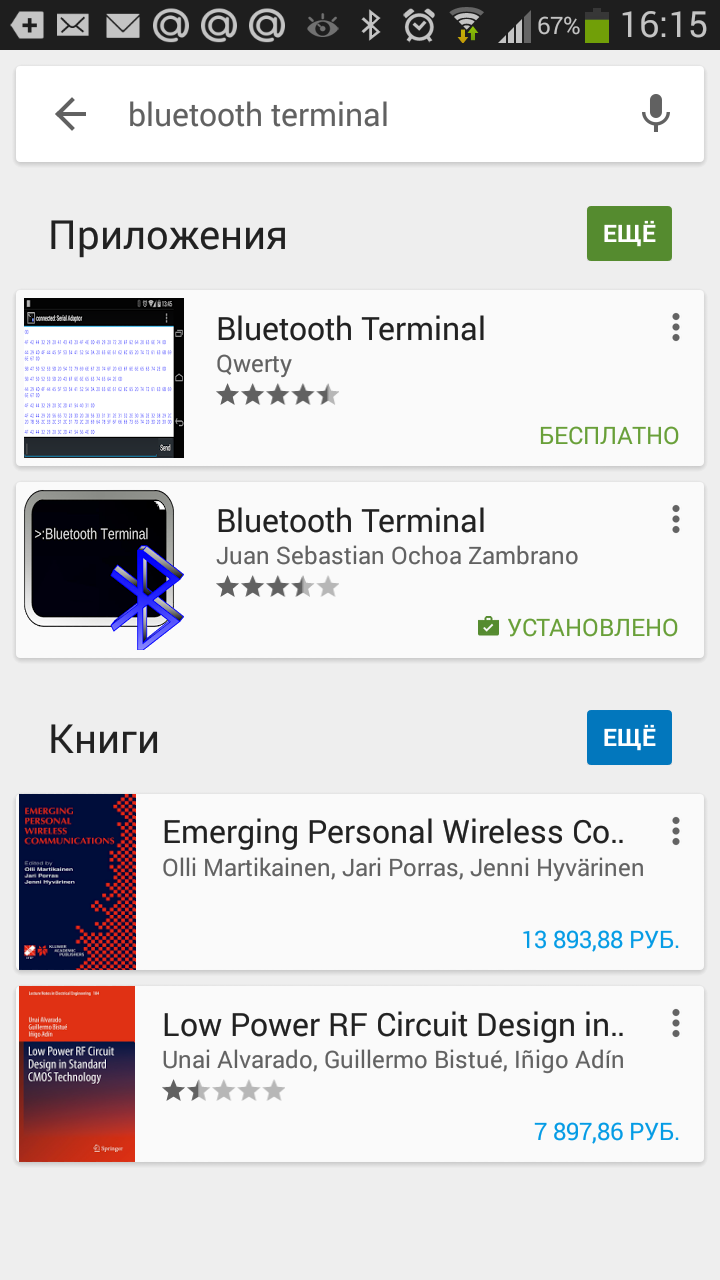
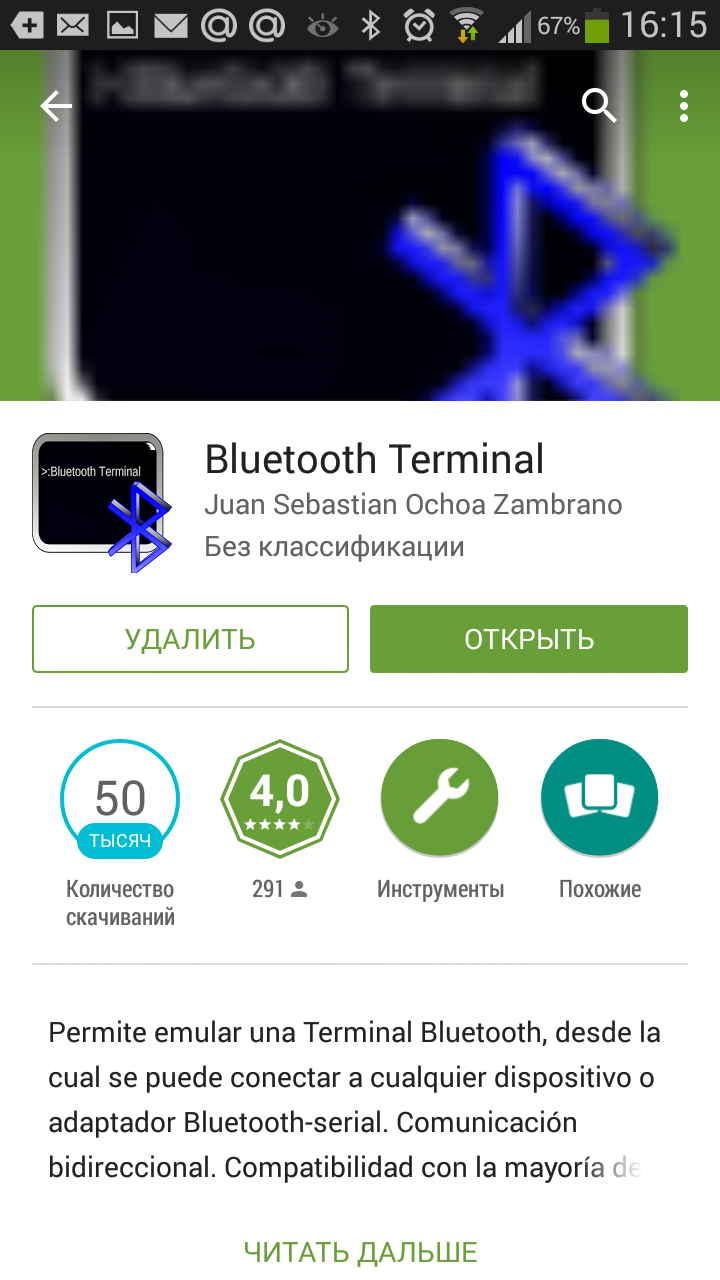
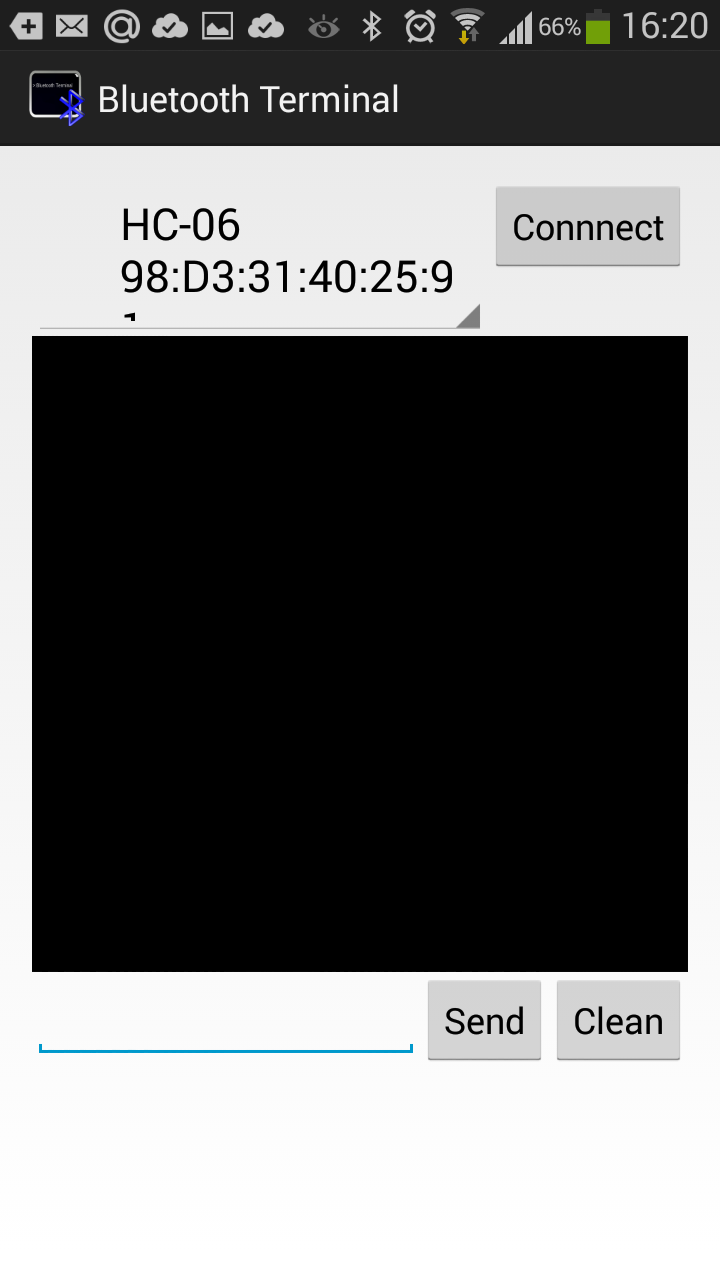
Вы можете установить разные bluetooth терминалы, как правило они отличаются только разными дизайнами, функционал от этого не меняется. Так же можно найти и терминал и для продуктов ios.
После того как мы установили терминал, запускаем его выбираем наш bluetooth модуль HC-06 и подключаемся к нему.
Пришло время попробовать проект в деле. Пишем в терминале цифру «0» и отправляем. Светодиод L который находится на плате arduino рядом с pin 13, должен погаснуть. Теперь отправим через терминал цифру «1» и светодиод L должен зажечься.
Bluetooth for Arduino in 10 Minutes

If you ever have the desire to add some wireless connectivity to your Arduino projects, then this post will guide you on how to add a Bluetooth capability to your Arduino project by using a HC05 Bluetooth module.
HC05 is an affordable Bluetooth module and one of the simplest method to add a Bluetooth capability to an Arduino board.
With Bluetooth capability, your Arduino project can send and receive data and messages from nearby Bluetooth devices. It makes your Arduino project becomes a remote device that can be controlled by other device such as an Android smartphone.
Before we proceed further, there are some disclaimer : I am using a clone Arduino board and HC05 module of unknown Chinese manufacturers. Since the quality may vary between manufacturers, the tutorial below may or may not work for you.
HC05 Specifications
Let’s talk a bit about the HC05 module. This module is a Bluetooth module that gives an Arduino board a capability to transmit and receive data via Bluetooth connection to other Bluetooth devices e.g. smartphones or other Arduino boards connects to HC05 modules.
For those who are super technical geeks, these are the detail specifications:
- Typical -80dBm sensitivity
- Up to +4dBm RF transmit power
- Low Power 1.8V Operation,1.8 to 3.6V I/O
- PIO control
- UART interface with programmable baud rate
- Integrated antenna
- Edge connector
- Default Baud rate: 38400, Data bits:8, Stop bit:1, Supported baud rate: 9600,19200,38400,57600,115200,230400,460800.
- Given a rising pulse in PIO0, the device will be disconnected.
- Status instruction port PIO1: low-disconnected, high-connected;
- PIO10 and PIO11 can be connected to red and blue led separately. When master and slave are paired, red and blue led blinks 1time/2s in the interval, while disconnected only blue led blinks 2times/s.
- Auto-connect to the last device on power as default.
- Permit the pairing device to connect as default.
- Auto-pairing PINCODE:”0000” as default
- Auto-reconnect in 30 min when disconnected as a result of beyond the range of connection.
You can find the complete specifications in this website
Components
This tutorial requires only very few components :
- Arduino Uno or Mega ADK (work on both boards with no difference in pin connections)
- 1 HC05 module
- Some male to female jumper cables
- Laptop with Arduino IDE installed in it. The IDE can be downloaded from Arduino website
- Connection cable from laptop to Arduino board to upload source code to board
- LED (already built into the Arduino board)
Pinout and Connections
We start with the hardware part. Using jumper cables, connect the HC05 module to the Arduino board using the diagram below as reference :
This is the connection that works for me. However, I found some references that mention that the +5V terminal in the HC05 module should be connected to a 5V pin on the Arduino board. This connection does not work for me, so you should experiment a bit to find which one works for you.
Next, you need to power the Arduino board by connecting it to a laptop (using the USB cable) or other external power supply. When you see the LED on the HC05 module is blinking, then you are on the right track.
Arduino Code
For the software side, open a new sketch on Arduino IDE then copy and paste this code:
Once it is pasted, save the sketch and click compile. The code is very simple and minimum, so there shouldn’t be any error at this stage. Next, click the upload button to write the code to the Arduino board. If there is an error, usually it’s because of improper connection between the board and your laptop. Please ensure that the board is properly recognized by Arduino IDE.
Note: remove +5V HC05 connection from the board before uploading the code then reconnect it after the upload.
When everything is correct, you should see the built-in LED is blinking.
The First Bluetooth Data Transmission
At this point, the board is already transmitting data via the Bluetooth module. However, for the time being, there is no other Bluetooth device paired and connected to the Arduino board to receive the data that we transmit. So the only way is to make sure that the board is transmitting is by looking at the serial monitor on Arduino IDE.
Open the serial monitor in Arduino IDE, then adjust the baud rate to 9600 baud (the same baud rate we specify in the code). If everything is correct, you should see this screen :
Checkpoints
Make sure the followings are completed:
- LED on HC05 module is blinking
- LED on Arduino board is blinking
- Serial monitor shows a transmission message
What’s Next?
We can receive and display the Bluetooth message by pairing another Bluetooth capable device to the Arduino board. In this case, we can use an Android smartphone. But to do that we need to use a Bluetooth connection app. Udemy offers a course that will teach you how to create an Android Bluetooth app that can talk with your Arduino project.
HC-05: Bluetooth module
In this tutorial, I will be going over how to interface the HC-5 Bluetooth module to an Arduino board.
The HC-05 module is very straightforward and simple to use. It can be configured as a Primary or Secondary device. It has 6 pins for connections.
This device can be connected as a software serial port for any microprocessor. For this post, I will be use an Arduino Nano.
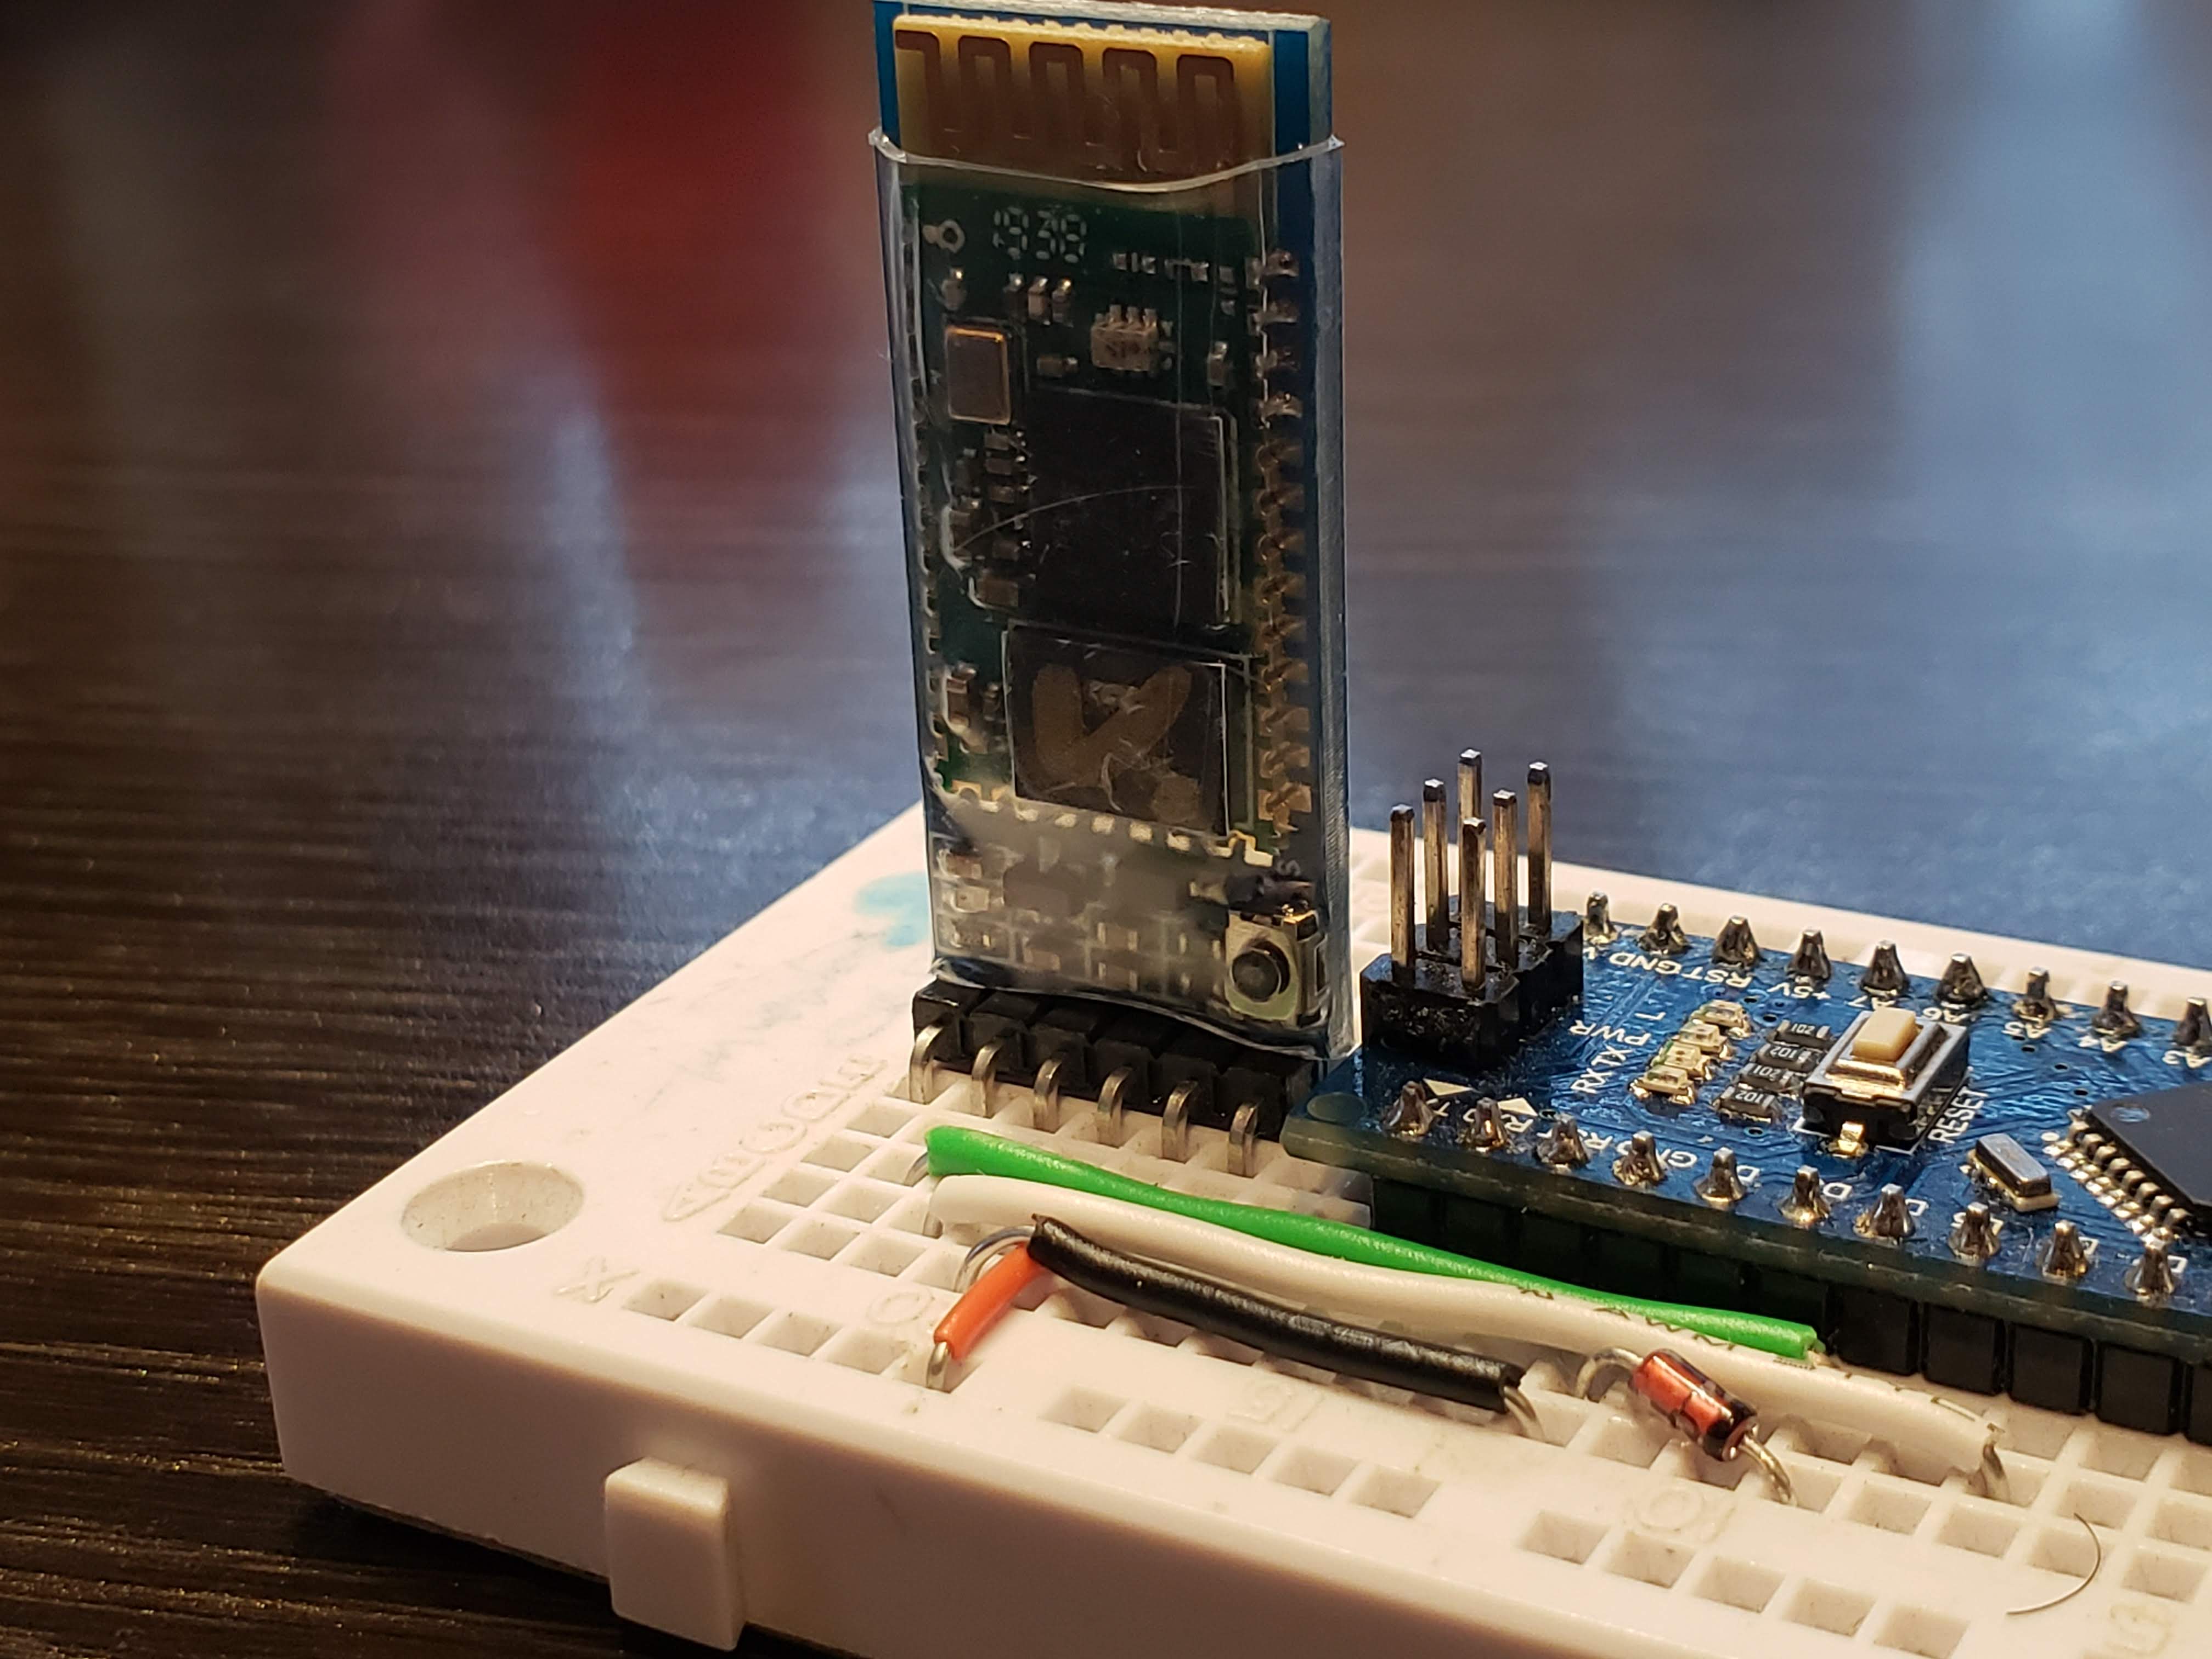
Primary Bluetooth Device Setup
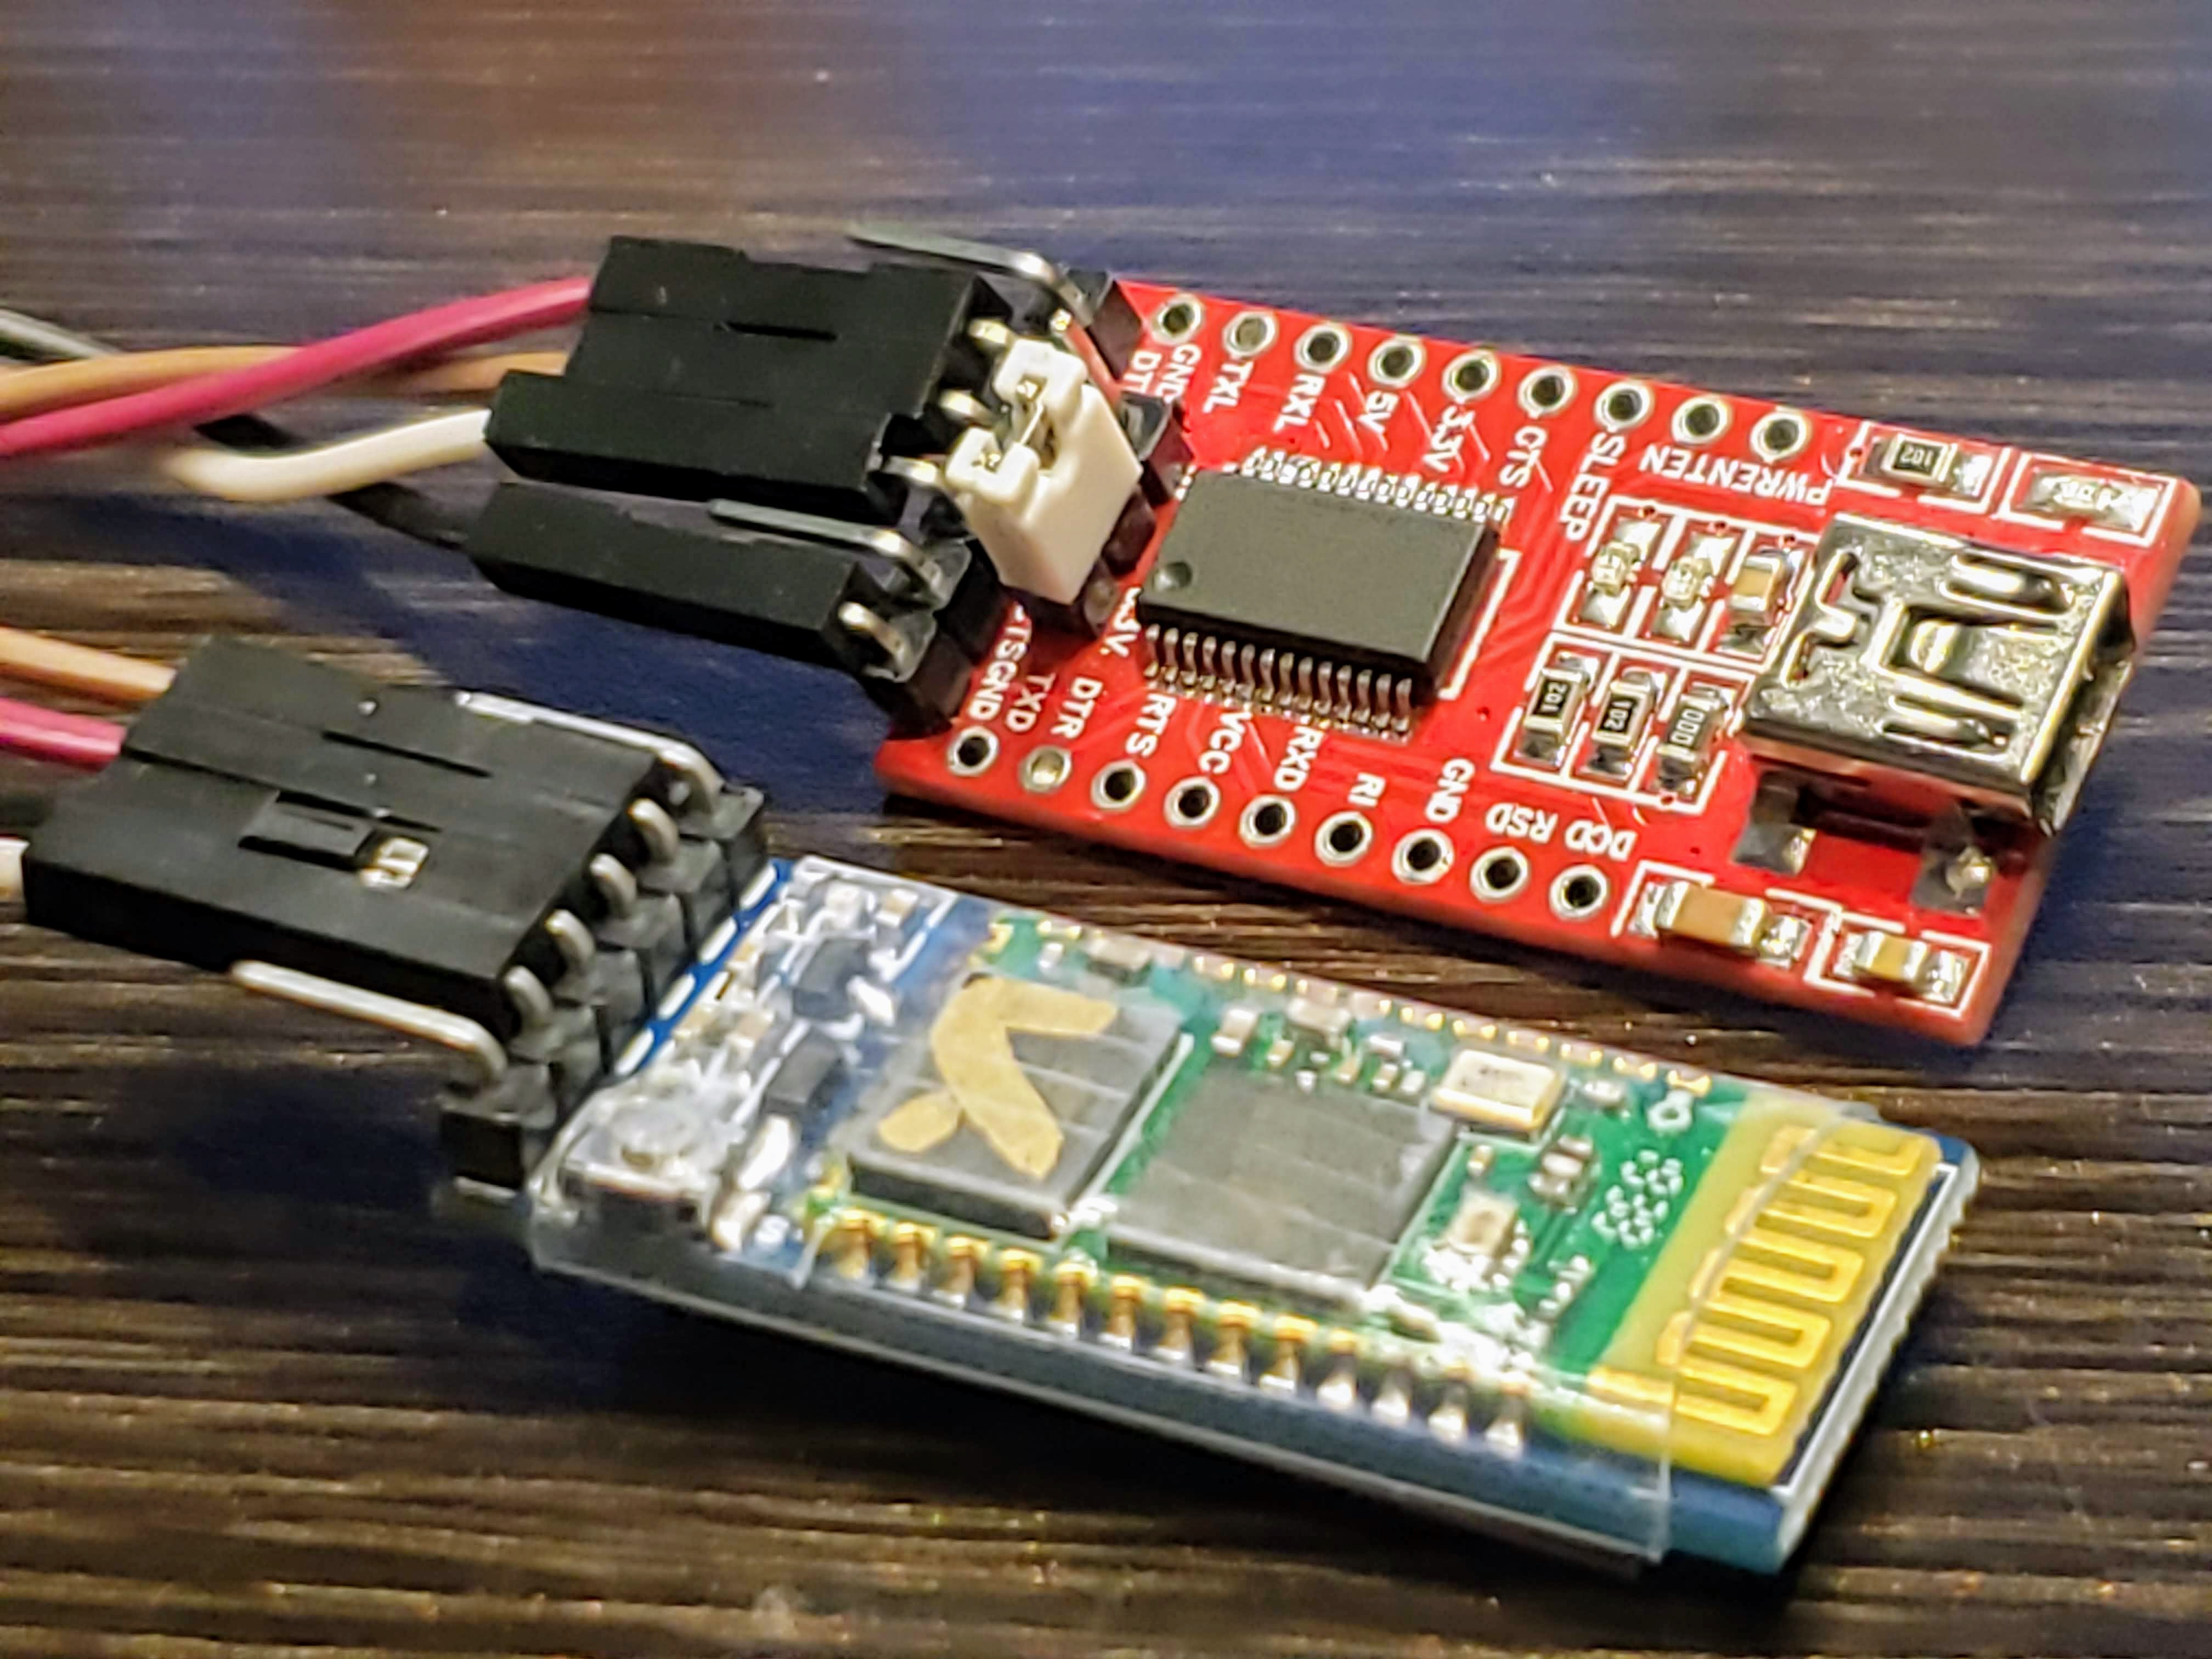
Secondary Bluetooth Device Setup
The version I bought from eBay has a pushbutton that has to be pressed during the configuration of the device.
Parts Used
| Part number | Quantity |
|---|---|
| HC-05 Bluetooth module | 2 |
| Arduino Nano | 1 |
| USB to FTDI board | 1 |
| Breadboard | 1 |
| Jumper wires | 8 |
| 3.3v Zener Diode | 1 |
Here are the pinouts and connections to an Arduino nano:
Pinouts: Primary
| HC-05 | Arduino Nano |
|---|---|
| State | NC |
| Rx | 4 |
| Tx | 6 |
| GND | GND |
| Vcc | +3.3V |
| En/Key | NC |
Pinouts: Secondary
| HC-05 | FTDI USB Board |
|---|---|
| Rx | TX |
| Tx | RX |
| GND | GND |
| Vcc | VCC |
For the FTDI board, make sure the jumper is set to 3.3V
Usually, the state pin allows the control of the AT mode. AT mode is used to configure the device. For the versions with the button, the state pin doesn’t need to be connected.
Software
The Arduino code needed to talk to the HC-05 module is shown below:
Only a handful of AT commands are needed to configure the module as either a Primary or a Secondary . A link to all the AT commands are linked below:
In the event you encounter an error when sending an AT command, refer to this link:
Configuration
After connecting up the module to the Arduino and loading the program, the module should be blinking rapidly.
Place in AT Mode
- Remove the GND pin connection
- Press and hold the button near the state pin
- Connect the GND pin back to the Arduino
- It should now to blinking every second
- Open up the terminal
Once you’re in the terminal, type AT and it should reponse back with OK .
Make sure that each command has a termination of \r\n
Get device address
One device will be the Primary and the other will be the Secondary device. Use the AT+ADDR? command to find the address of each module
Configure Secondary Device
Open up a terminal with a Baud-rate set to 38400 and line termination «CR+LF» . Hold on to the button while sending these commands
At the very end, type in AT+RESET this will initialize the device. At this point, the device should be blinking rapidly
Next we configure the Primary device
Configure Primary Device
Hold on to the button while sending these commands
At the very end, type in AT+RESET this will initialize the device. After a few seconds, the two devices should pair up. This will indicated with two quick blinks every second on both Bluetooth devices.
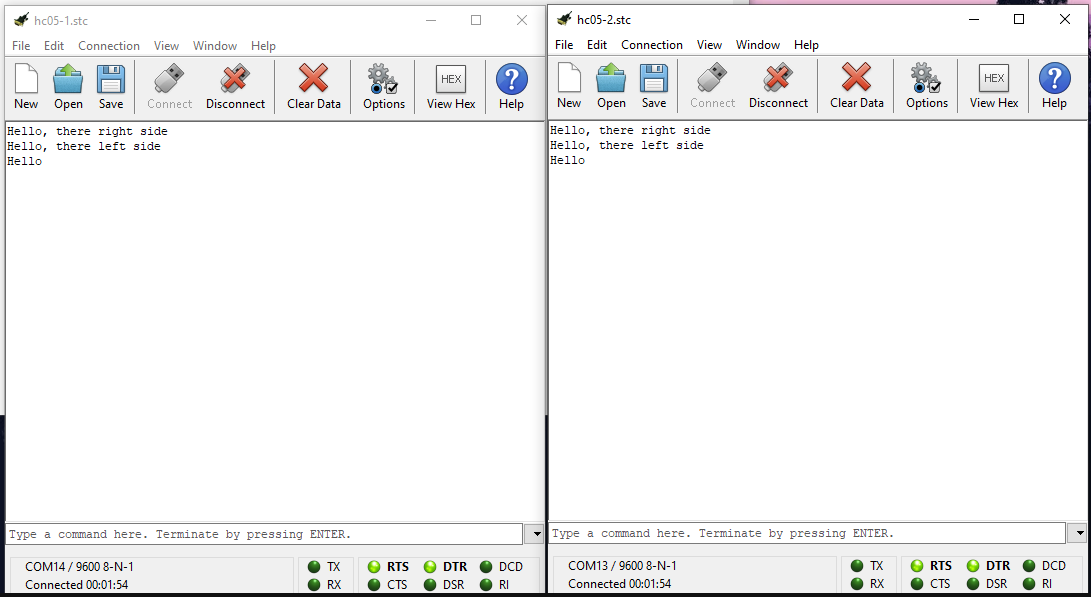
That should be it. Now you have Arduino devices that can communicate with each other over Bluetooth. On the next post, I will be showing how to build chat window using two Arduinos over Bluetooth. Stay tuned!
Как подключить к Arduino модуль Bluetooth
Подключим беспроводной Bluetooth модуль к Arduino и научимся получать с него данные и передавать на него данные с компьютера.
- плата Arduino Nano или аналогичная;
- модуль Bluetooth HC-06 или любой другой (например, такой);
- компьютер с установленной средой разработки Arduino IDE;
- набор соединительных проводов (вот такой); для монтажа без пайки.
Инструкция по подключению bluetooth-модуля к Arduino
1 Описание модуля bluetooth HC-06
Существует большое количество реализаций модулей Bluetooth. Каждая имеет свои особенности, но в общем и целом они все очень похожи. Рассмотрим представителя bluetooth модуля семейства HC-06, который можно приобрести по отличной цене на этом сайте.
Данный модуль работает на частоте от 2,40 ГГц до 2,48 ГГц и поддерживает спецификацию bluetooth версии 2.1+EDR: пониженное потребление энергии, повышенный уровень защиты данных и лёгкое соединение Bluetooth-устройств. Устойчивый приём с модулем гарантирован в пределах 10 метров.
 Назначение выводов bluetooth-модуля HC-06
Назначение выводов bluetooth-модуля такое:
| Вывод | Назначение |
|---|---|
| VCC и GND | «плюс» и «минус» питания модуля, поддерживаются напряжения от 3,6 до 6 вольт; |
| TX и RX | передатчик и приёмник модуля; |
| MCU-INT (Status, State) | вывод статуса; |
| Clear (Reset) | сброс и перезапуск модуля, в данном случае осуществляется низким логическим уровнем. |
Последние два вывода могут быть не задействованы; часто можно встретить модули вообще без этих выводов.
2 Схема подключенияbluetooth-модуля к Arduino
Подключим bluetooth модуль к Arduino по приведённой схеме. Обратите внимание, что передатчик (Tx) Ардуино подключается к приёмнику (Rx) модуля, и наоборот.
 Схема подключения модуля bluetooth к Arduino
На выводе Status появляется высокий уровень, когда модуль сопряжён с другим bluetooth устройством, и низкий – когда не сопряжён. Можно считывать его значение, подключив к пину Arduino и назначив ему режим работы pinMode(pinStatus, INPUT) и таким образом узнавать состояние модуля. Но не на всех модулях индикатор статуса работает корректно, поэтому мы не будем его использовать в данном примере.
В результате должно получиться примерно как на фотографии.
 Bluetooth модуль подключён к Arduino
3 Скетч для Arduinoдля работы по bluetooth
Напишем такой скетч и загрузим в память Arduino:
Включаем собранную схему с Arduino и подключённым к нему bluetooth-модулем. Правильно подключённый модуль сразу входит в режим ожидания подключения, о чём будет свидетельствовать ритмично мигающий светодиод статуса.
4 Сопряжение с bluetooth-устройством
Теперь нужно добавить bluetooth-устройство в список доверенных устройств. Включаем Bluetooth на компьютере, идём в Параметры Устройства Bluetooth.
Если в области уведомлений при включении bluetooth на компьютере появилась иконка bluetooth, то можно кликнуть по ней правой кнопкой мыши и выбрать пункт Добавление устройства Bluetooth:
 Добавление устройства Bluetooth
Убеждаемся, что наш bluetooth-модуль виден компьютеру. Выбираем его из списка и нажимаем кнопку Связать. В диалоговое окно вводим пароль по умолчанию 1234. При успешном добавлении устройство появится в списке с пометкой Сопряжено.
 Сопряжение с bluetooth-устройством
Пароль по умолчанию для конкретного модуля может отличаться от «1234». Эту информацию должен предоставить изготовитель (продавец) модуля.
Если вы хотите подключиться к вашему модулю bluetooth со смартфона, то порядок действий аналогичный: включить bluetooth на смартфоне, обнаружить модуль, подключённый к Arduino, выполнить сопряжение с ним.
5 Подключаемся к bluetooth-модулю по bluetooth с компьютера
Для подключения к bluetooth модулю можно использовать различные программы, которые могут подключаться к COM-порту. Например, такие как HyperTerminal, PuTTY, Tera Term, Termite и другие. Они все бесплатные и свободно распространяются в интернете.
Удобство программы TeraTerm в том, что она автоматически выводит список COM-портов, которые назначены модулю bluetooth вашего компьютера. Запускаем программу, выбираем подключение Serial, из списка выбираем соответствующий bluetooth COM-порт, нажимаем OK.
 Подключение к bluetooth-модулю с помощью программы TeraTerm
Программа PuTTY при запуске также спрашивает номер порта (COM4, у вас будет свой), скорость подключения (9600), тип соединения (Serial). Затем нажимаем кнопку Соединиться.
 Подключение к bluetooth-модулю с помощью программы PuTTY
В случае ошибки при подключении программа выведет соответствующее оповещение. Если соединение вашего компьютера с bluetooth-модулем произошло успешно, то вы увидите перед собой поле терминала. Введите с клавиатуры в это поле число 1 – и светодиод на 13 выводе Arduino загорится, введите 0 – погаснет.
6 Подключение со смартфона с помощью Bluetooth Terminal
Аналогично можно подключиться к модулю bluetooth со смартфона. Скачайте приложение для работы с bluetooth по терминалу, например Bluetooth Terminal. Подключайтесь к модулю и вводите команды 0 или 1.
Таким образом, мы научились подключаться по bluetooth к Arduino и передавать ему данные.